Registering Time Clocks
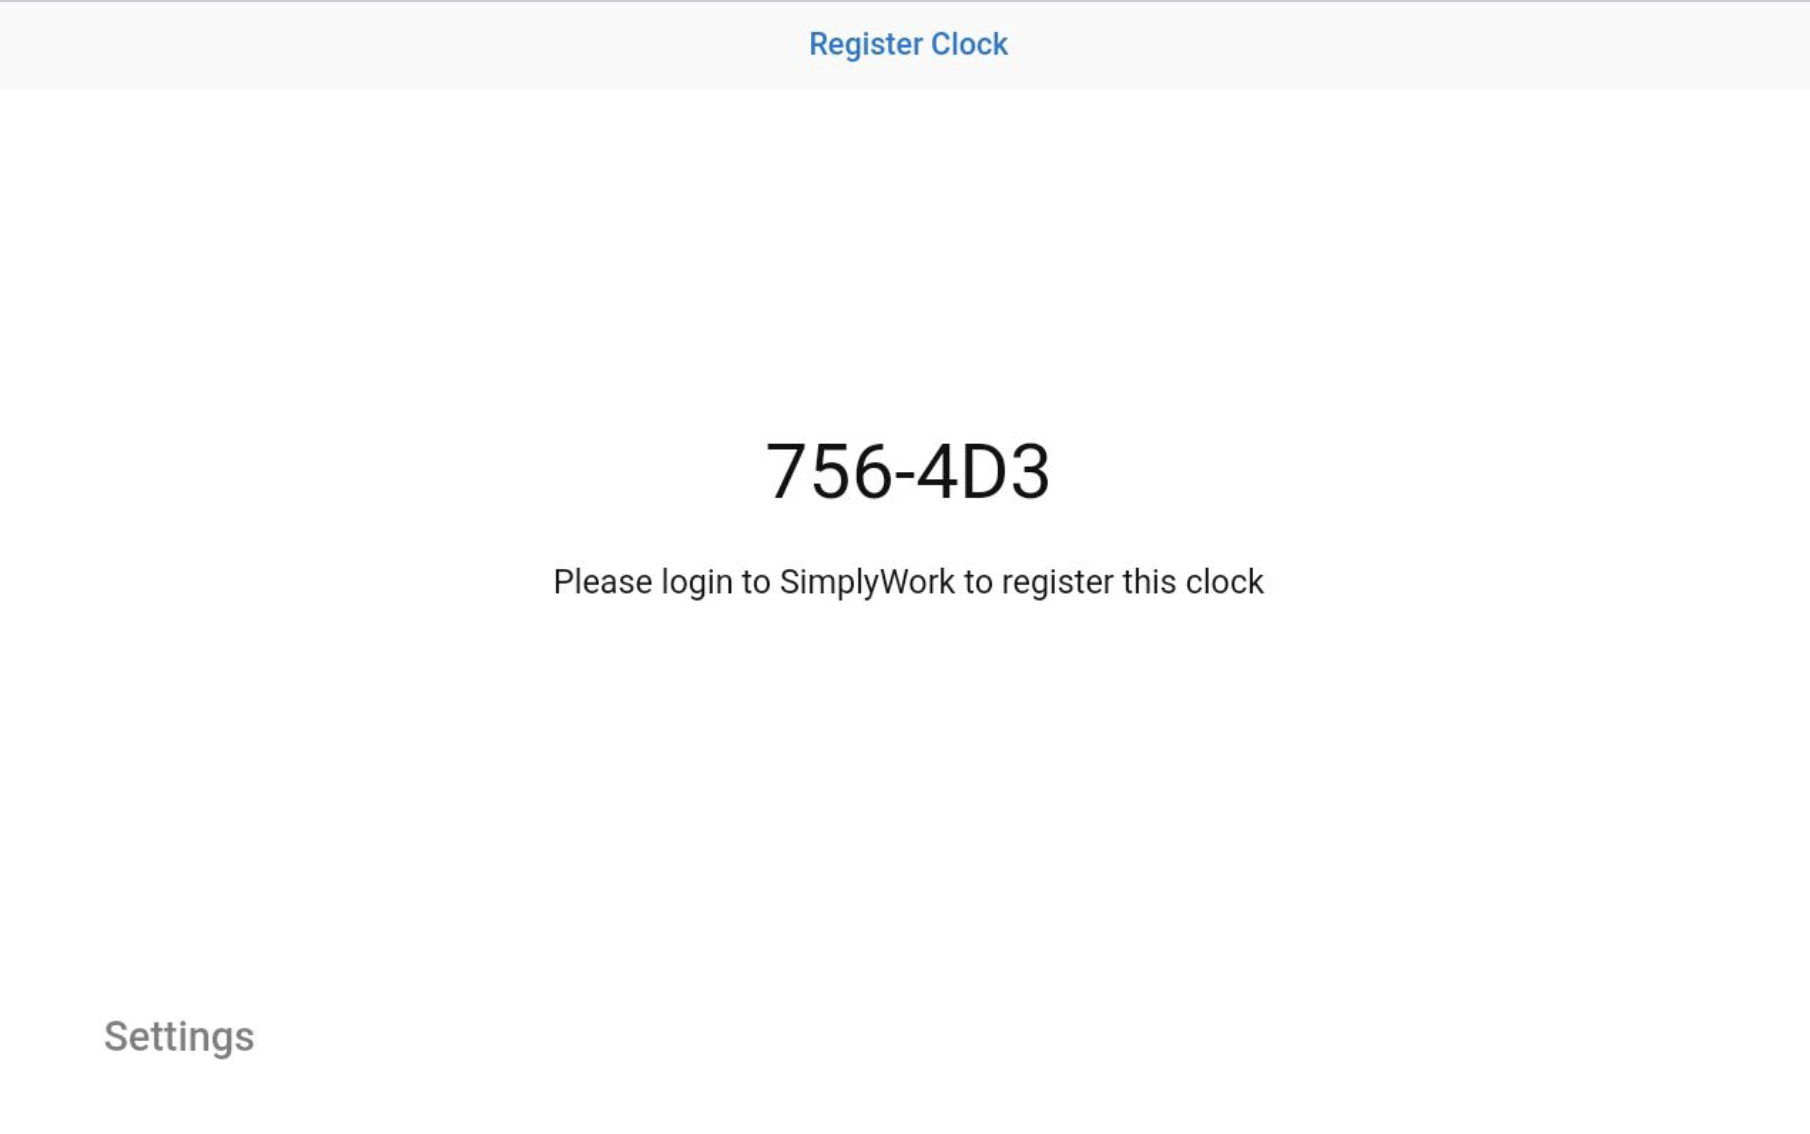
When a clock is initially booted up the first time, it will display a unique device validation ID. This validation ID is used to add the clock to your platform instance.
If you need to adjust network settings, or wish to view the current settings, press the Settings button in the lower left to enter the Settings menu.
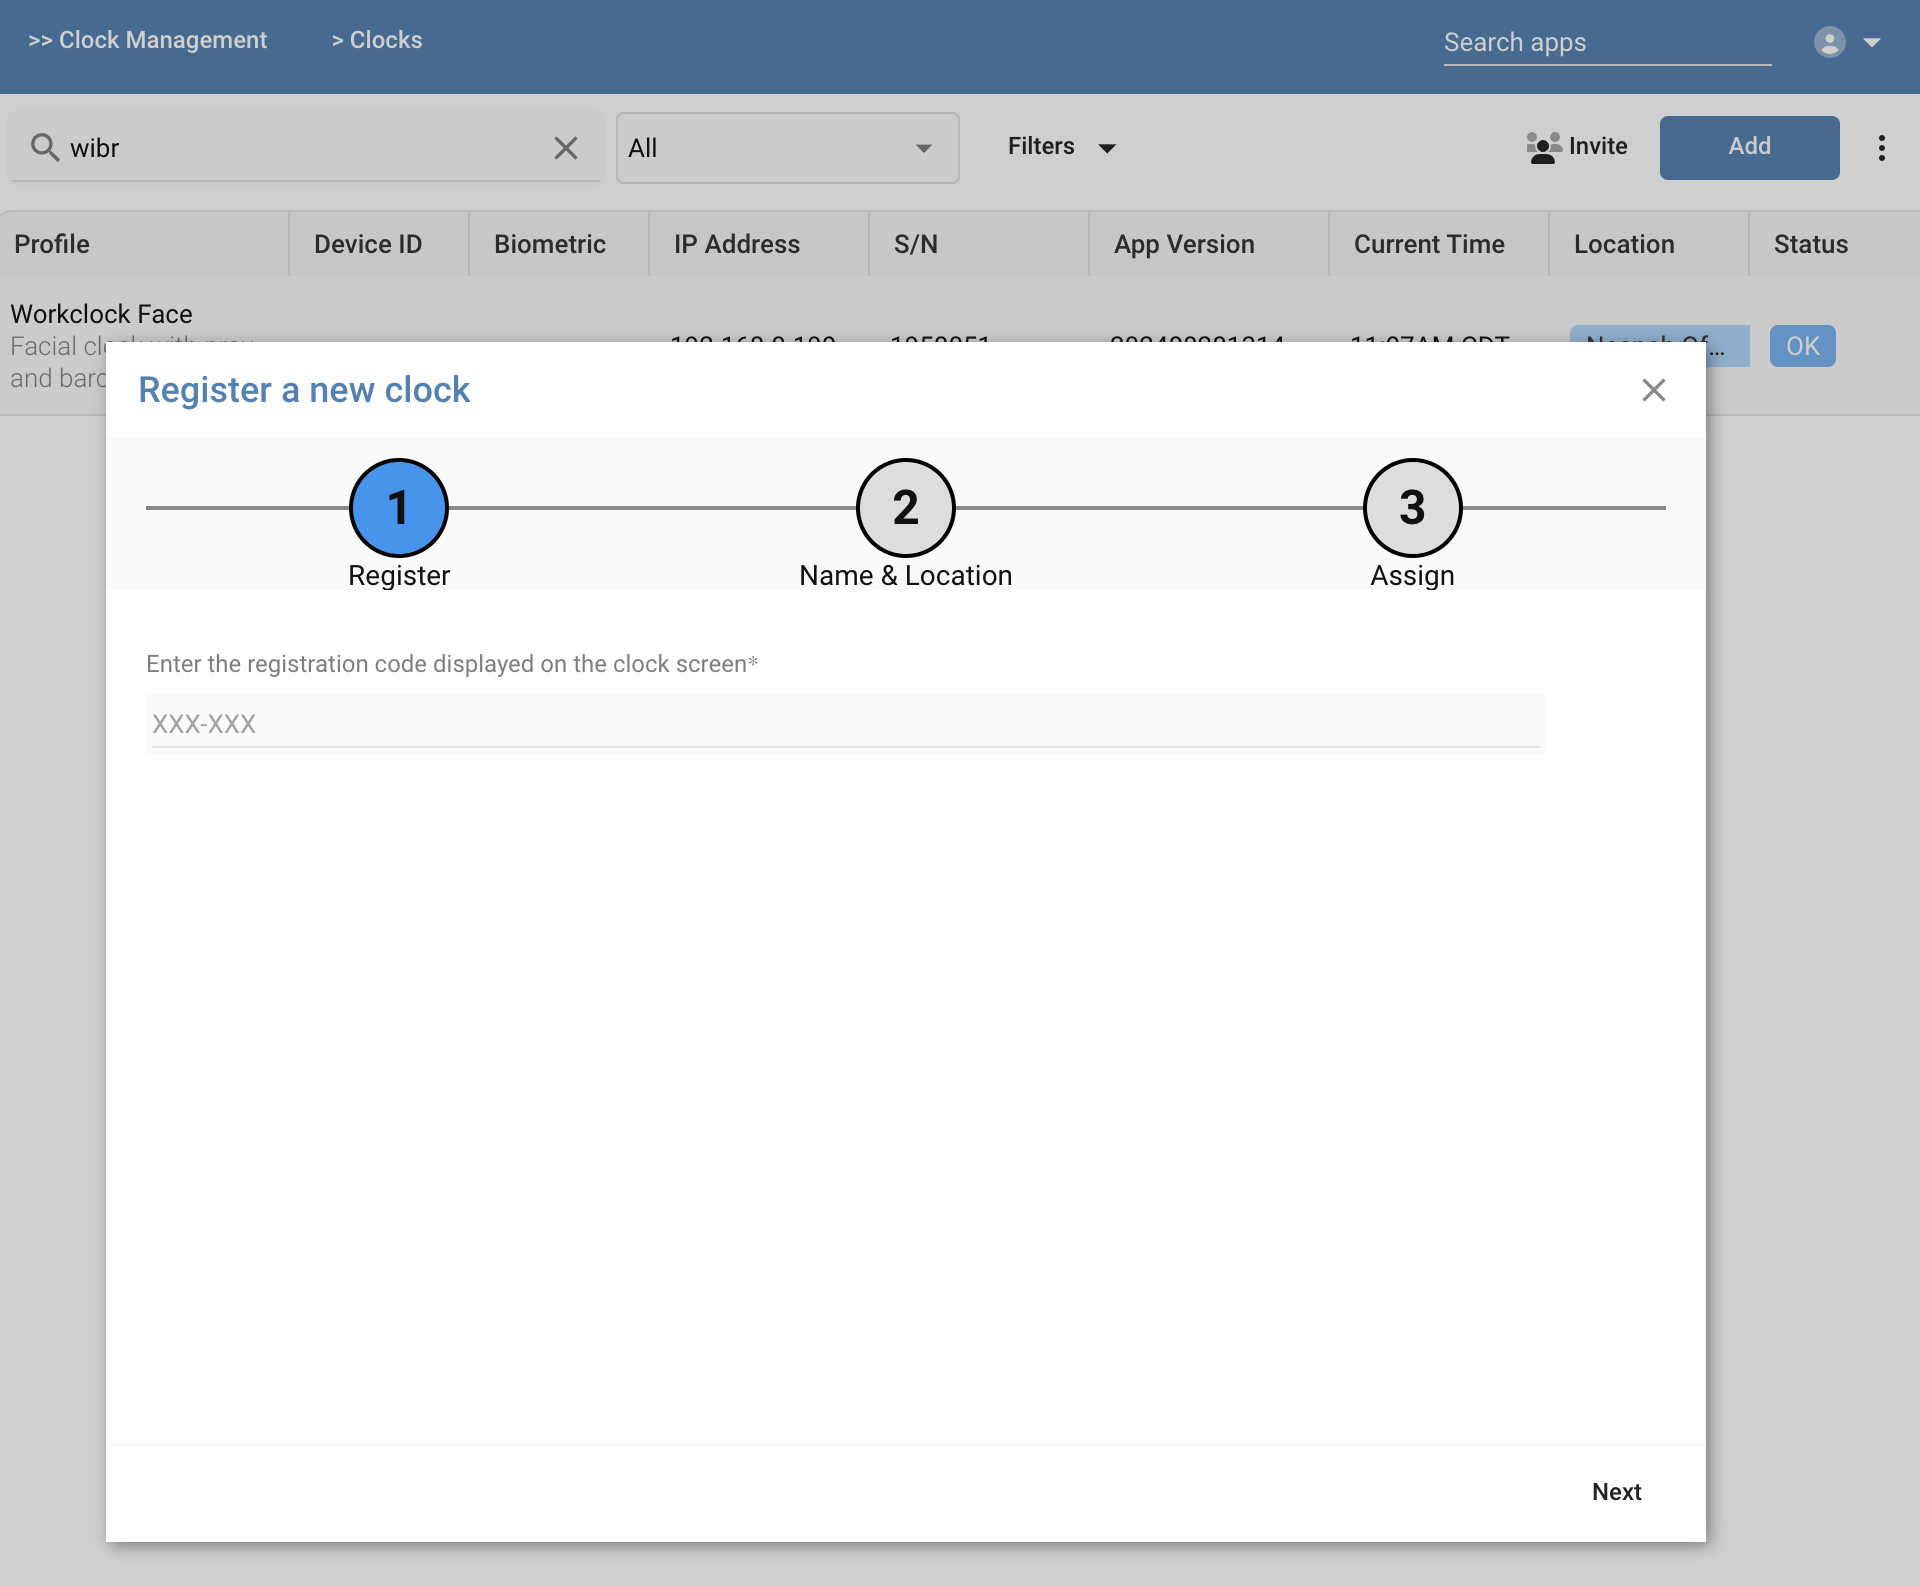
New clocks are added to your platform instance by pressing the Add button in the Clocks app. The new clock registration wizard will prompt for the following:
| Item | Description |
|---|---|
| Registration code | This is the 6-digit validation ID displayed on the clock screen |
| Name | Enter a unique name for the clock; names can be alphanumeric and can correspond to an asset ID, location or other identifying trait (but must be unique) |
| Description | Enter a verbose description of the clock, such as its placement within its location |
| Location | Choose the logical Location for the clock from your Locations list |
| Clock Profile | Choose a profile from the drop-down list of profiles; this selection will control the behavior and features within the clock |
Upon completing the Clock Registration Wizard, press Save to save the new clock.
The clock checks every 30 seconds to see if it has been assigned to an instance, and upon completing the wizard above, the clock will redirect itself to your instance. Upon checking in the first time, the clock will automatically check for any new updates and if found, will download, install and reboot. This process takes about 2 minutes.
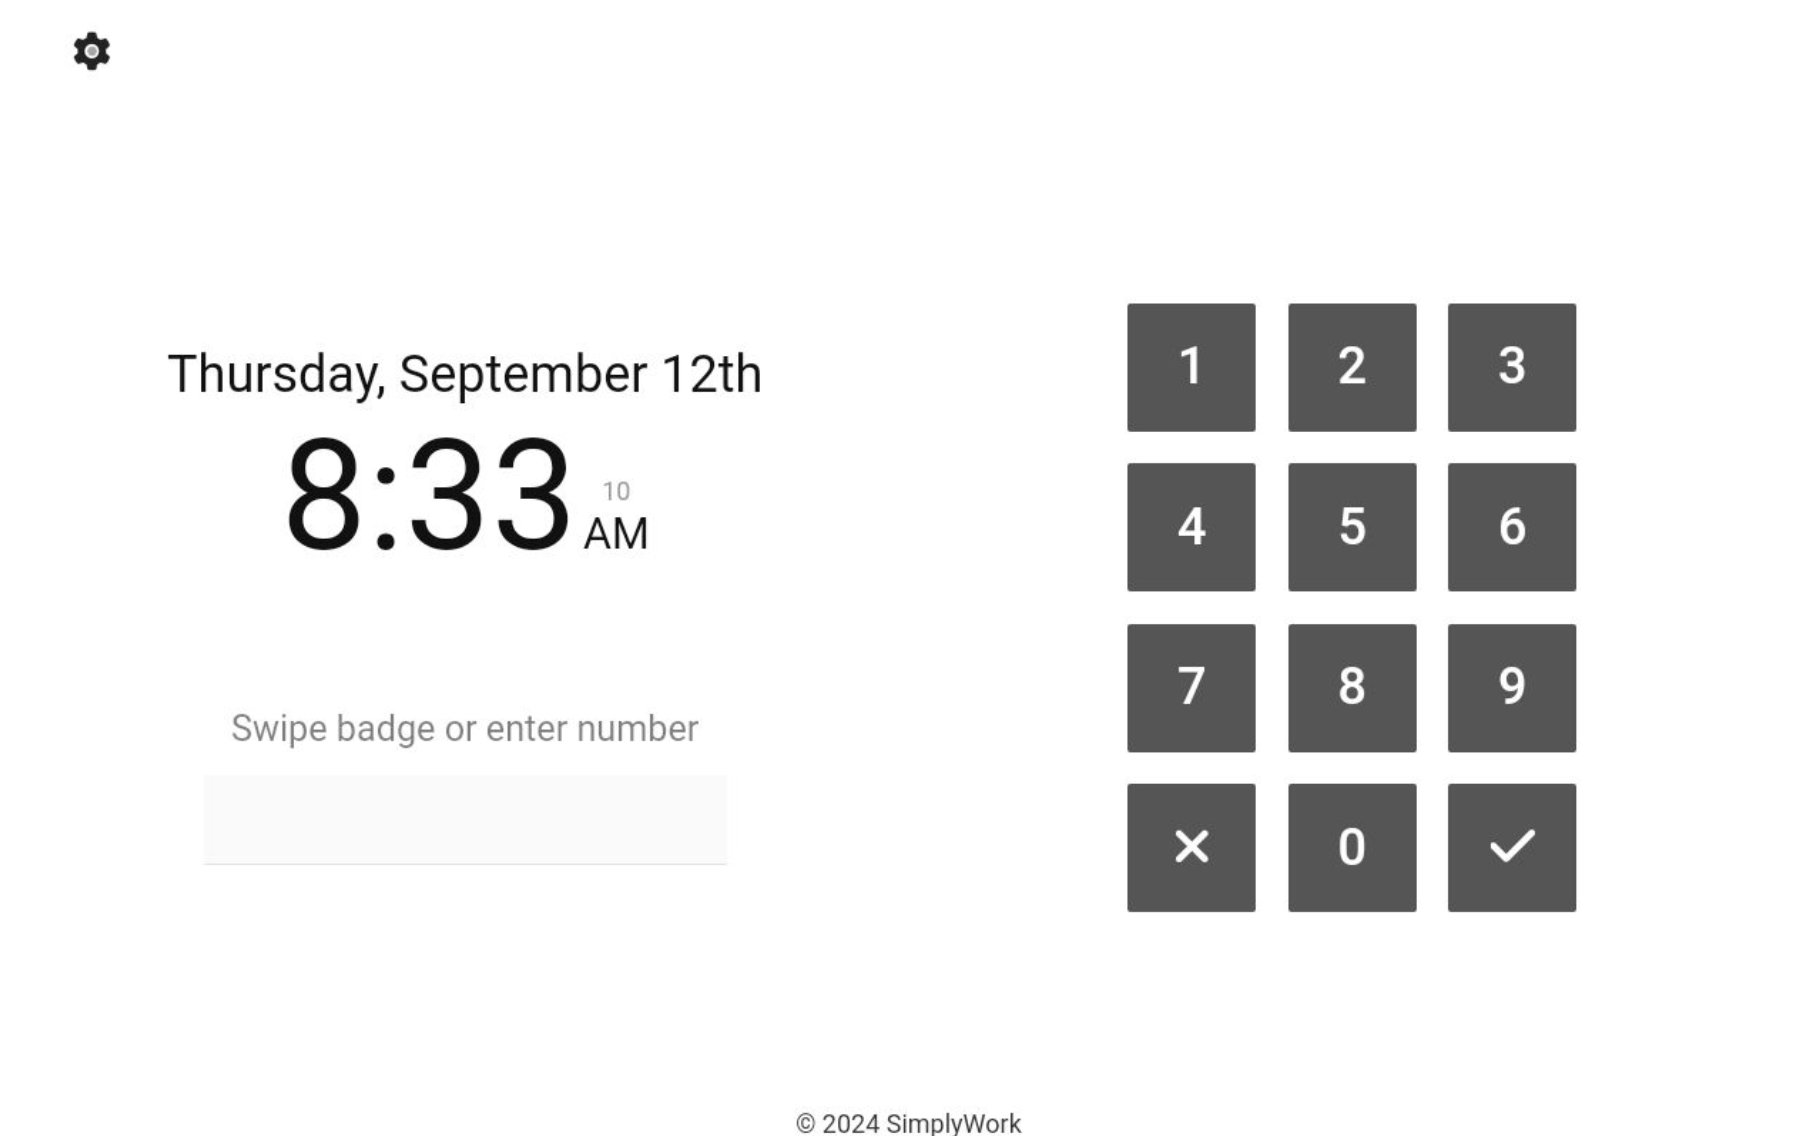
The screenshot below shows the clock at the main idle menu ready to be used.
Under Clock Management, the Clock app will now show the clock status as OK
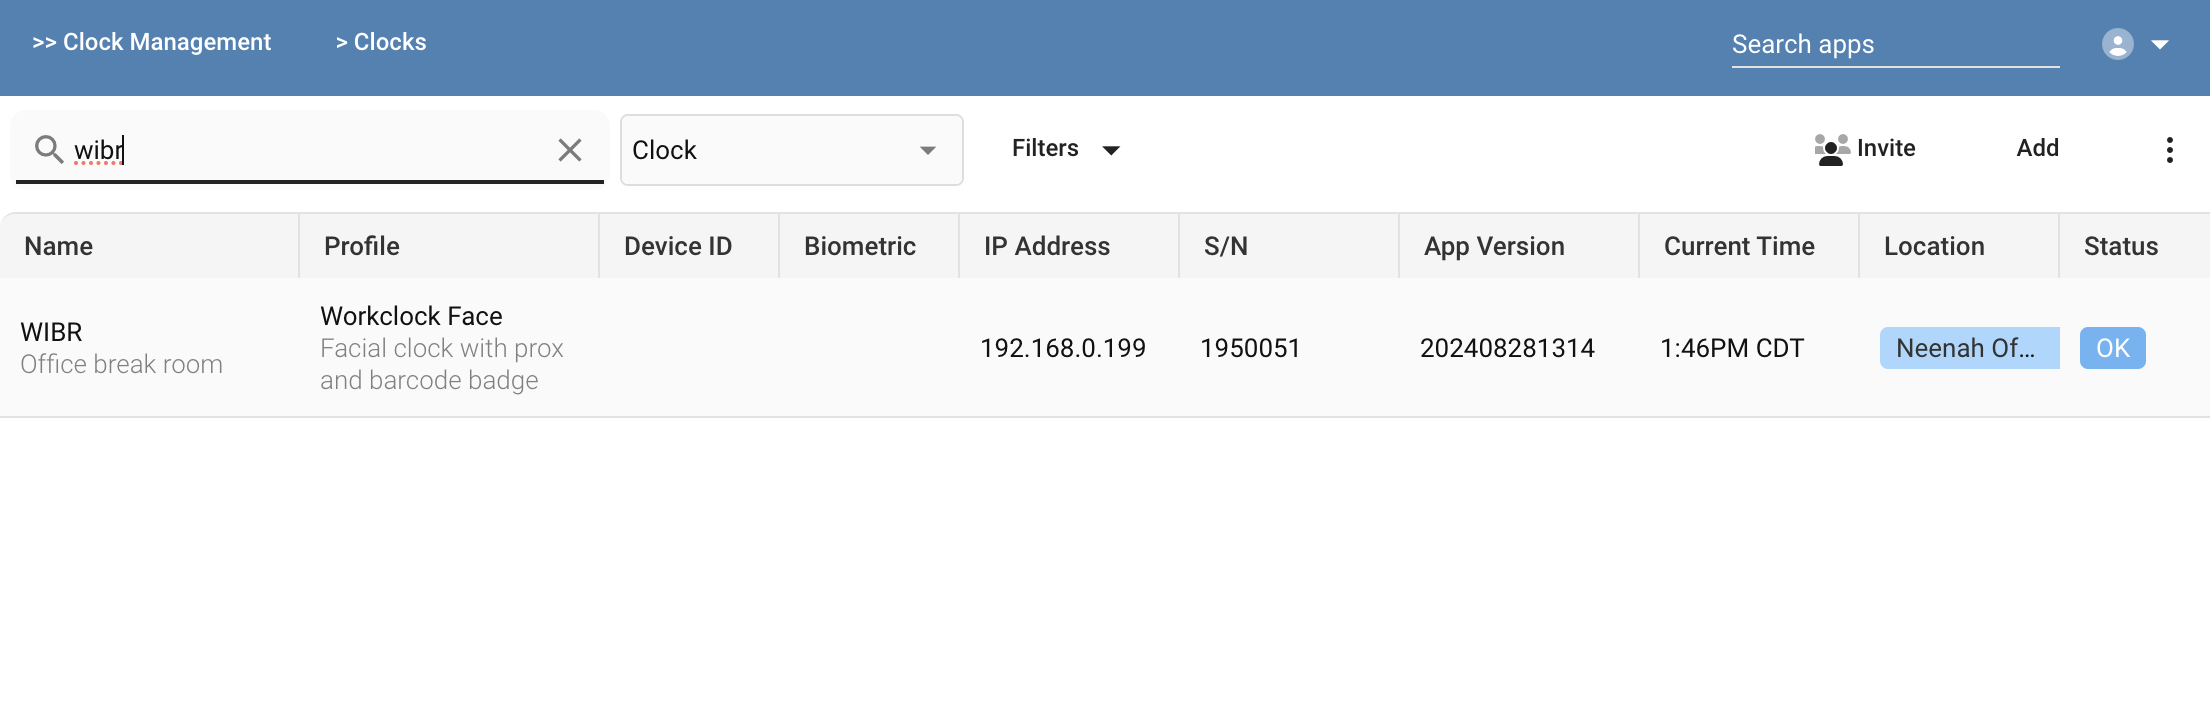
You may need to press the ellipses button in the upper right and choose Refresh to update the display if the curent status is ERROR.
You can view additional details about the clock under Clock Management